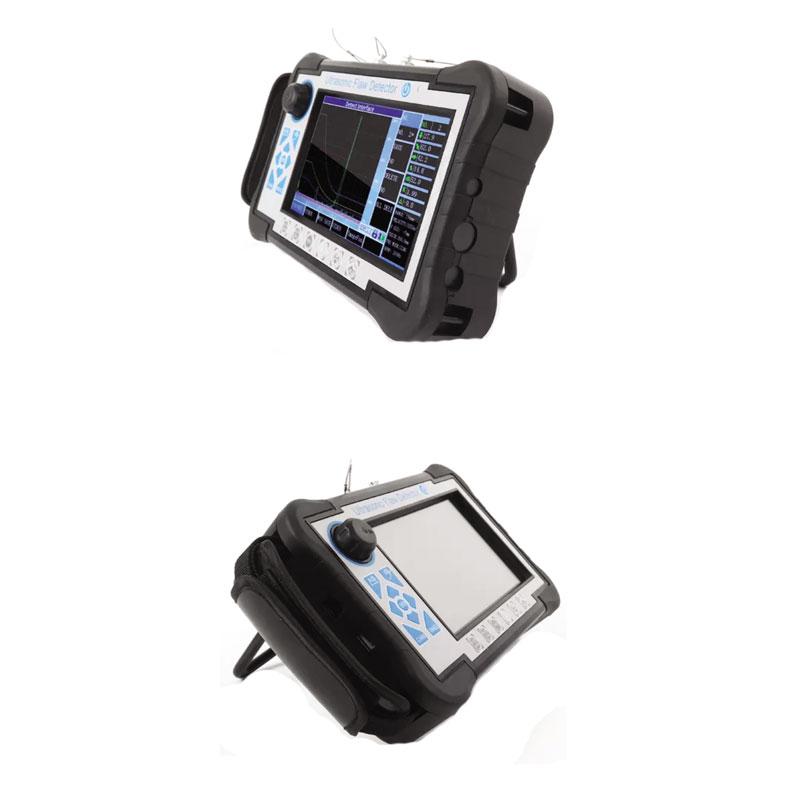
Key features
●High-precision quantification and positioning to meet the requirements of near and far distance detection
●The near-field blind zone is small, can meet the detecting requirements for small-diameter and thin-walled pipe.
●Auto calibration function:one-button auto calibration,easy to operate, automatic test probe “P Delay”,”K value”,”X value” and the velocity
●Automatic display the defect echo position(Depth:d, Horizontal:p,Distance:s, Amplitude,dB,ф )
●Switch three scales freely(Depth:d, Horizontal:p,Distance:s)
●Auto gain, peak envelope, peak memory functions, which can improve the detection efficiency.
●Automatically record the flaw detection process and dynamic playback
●φ value calculation:Forging flaw detection by straight probe, can find the highest wave to conversion φ value automatically
●500 independent channels(can be expandable), which can input and store the detection standards of any industries freely, do not need to carry the standard blocks for on-site inspection.
●Store, playback 500 A-scan waves and data freely
● The DAC, AVG, and TCG curves (depth compensation) are automatically generated and can be segmented. The sampling points are unrestricted and can be corrected and compensated.
●14 built-in inspection standards
●Free to enter any industry standards
●Pulse width and strength can adjustable
●B scan and B color scan function;
●Can communicate with the computer, and export WORD. File, also the detection report
●IP65 ABS plastic case, sturdy and durable,water-proof and dust-proof, and excellent anti-interference ability
●Use (wireless) communication software to analyze data print reports, etc;
●260,000-color true color screen, is suitable for working environment under strong light or low light
●High performance lithium battery, can work continuously for 8-10 hours
●Real-time clock recording: real-time flaw detection date, time tracking record, and storage
●Power-down protection, storage data can not lost
●Flaw detection parameters can be automatically tested or preset
●Digital reject, does not affect gain and linearity
●Gain compensation: Db attenuation can be corrected for surface roughness, curved surfaces, long-range flaw detection of thick work-pieces, etc.
●Can operate the flaw detector by software at the PC, achieving the goal of computer-controlled flaw detector to detecting
Operation mode Button, Rotary, Touch Screen
Power supply Lithium Ion Battery
Power voltage 12V
Power quantity 1
Adapter input DC100~240V 50Hz/60Hz
Adapter output AC 12V
Data storage SD card(16G)
Alarm 1
Storage Temperature -20℃~60℃
Dimension 245*155*55mm
Weight 1.18kg(included battery)
Channel Type Single channel
Channel Num 500 group(able to be scaled)
Transmit Voltage 50~350V,step in 50V
Damping 560Ω
Gain Fine Adjustment -4~+4
Surface compensation All Gain Range
Probe Type Single,Dual, Through, Immersion type
Filter Three optional: 1~4MHz/0.5~10MHz/2~20MHz
Reject 0~80%,step 1%
Testing Range 0~15000mm,Minimum
Pulse displacement -10~1000mm
P DELAY 0~200us
X-VAL 0~100mmGuide Weld, Sheet, Forging inspection
Testing Point Peak/X-val/J val
Cursor:2 cross cursors, can test the horizontal and vertical distance, and the distance between cursors(under B scan function)
Sensitivity Leavings ≥65dB(200mm—Φ2FH,2.5PΦ20)
TCG, maximum six curves
AVG
Main unit 1
Power adaptor 1
probe connecting cable 2
Instrument case 1
Instruction manual 1
Straight probe 10mm 2.5MHz 1
Angle probe 13×13 60degrees 2.5MHz 1
Warranty card 1


